Why Choose Tony Tling
DIY tiling: don’t try it before reading these tips from the tradie!
As we invest even more time in the house, Irish are selecting up their devices and also diving right into DIY reno projects of all dimensions and also forms. However knowing where to start can be discouraging for even the savviest of renovators, and also tiles can be specifically challenging if you have actually never tiled prior to.
As a renovation expert, carpenter and The Block alumni, Kyal Demmrich has actually invested his reasonable share of time diving into DIY improvements with his wife Kara. “We have completed even more than 35 reno tasks now, as well as over that time I have actually found that knowing what our objective is, consisting of the style we’re going with, really does assist with the rest forming,” Kyal says. With the appropriate details and also the right devices, most remodellings are fairly very easy, especially when you comply with a few basic ideas.
With tiling, once people have actually arrived at style aspects like selection of tile and also laying pattern, a lot of the hard lawns have been run– though care requires to be required to stay clear of mistakes such as using improper adhesives, tiling on surfaces that are moist, as well as stopping working to determine as well as reduce accurately.
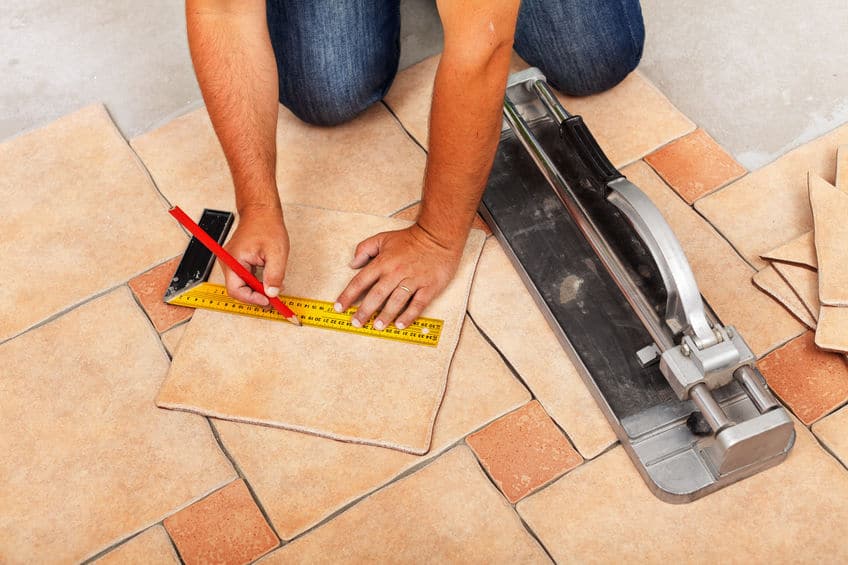
” There is a wonderful saying in the profession: Action two times, cut as soon as. That’s my principle for all points tiles and also DIY,” Kyal says. “From determining the number of tiles you require, with to the cuts and arrangement of the tiles themselves, never take too lightly the value of an excellent old measuring tape as well as strong ahead planning.”
Other tile ‘tricks of the tradie’ offered by Tony Tiling:
Dry surface areas: Prior to you begin, your surface needs to be dry, clean, and also smooth. It has to be waterproofed correctly before you start tiling if you are tiling in a damp location.
Clean tiles are a have to: Tiles must be dry as well as completely clean. Any loosened powder on the backs of tiles should be removed to prevent polluting the adhesive. A great bristle brush is good to help with this.
Not all adhesives are produced equal: Do not skimp, and ensure you pick the ideal adhesive for the surface as well as sort of tile. There are many brands of adhesive out there, and they are all made for certain types of tiles as well as tile surface areas.
Dimension does matter for the newbie DIYer: Tiling with big tiles is tough, also for experienced pros. Big format tiles are hefty as well as are pricey to replace if blunders are made, so DIY newbies should go for tiles no bigger than 300 x 600mm.
Beginning with the grate: The key with tile layout is starting from the flooring grate (either inside or outside the shower) and also functioning your means in an outward direction. Formulate a strategy of your floor/wall/splashback as well as map out where your tiles will go. Now, you need to likewise inspect that you have the proper be up to the grate. This makes sure that your water will certainly recede appropriately.
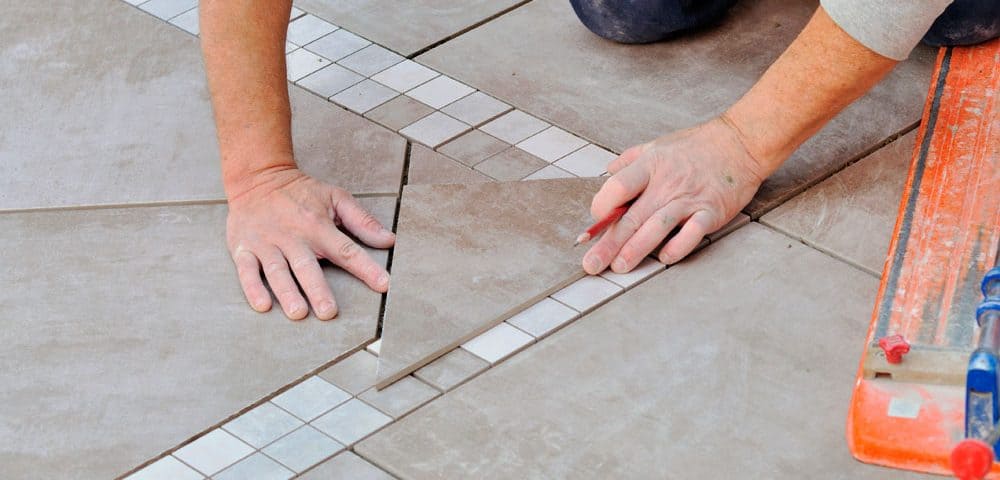
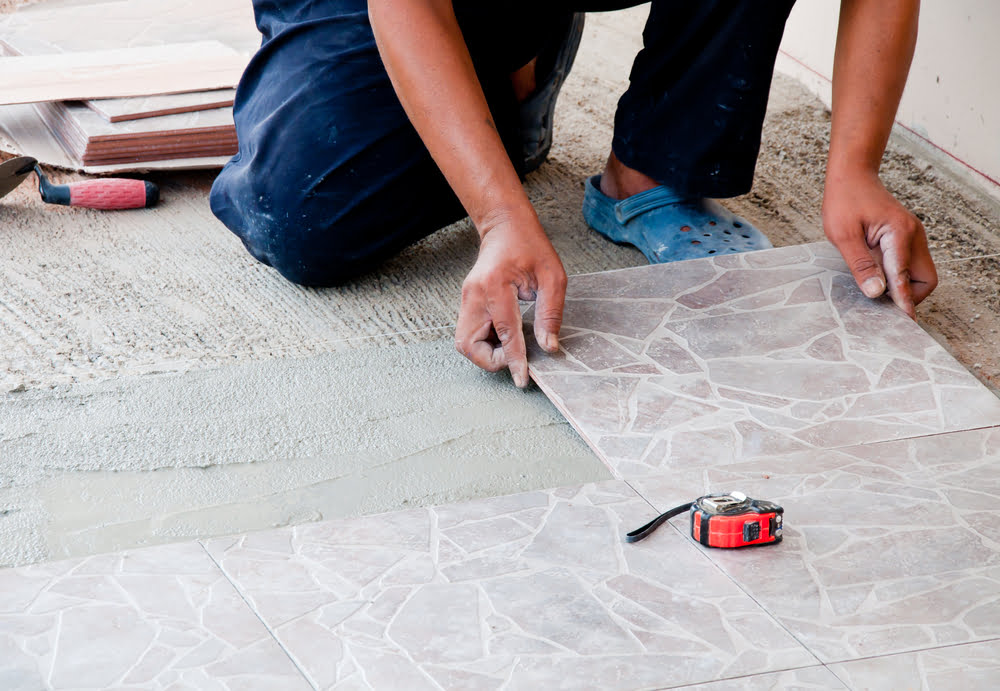
Dry laying is every little thing: Dry laying tiles initially ensures you have the correct number of tiles along with developing a vision of how they will look. Dry laying is additionally the best time to validate whether you enjoy with your tile selection, or if you require to make eleventh hour adjustments.
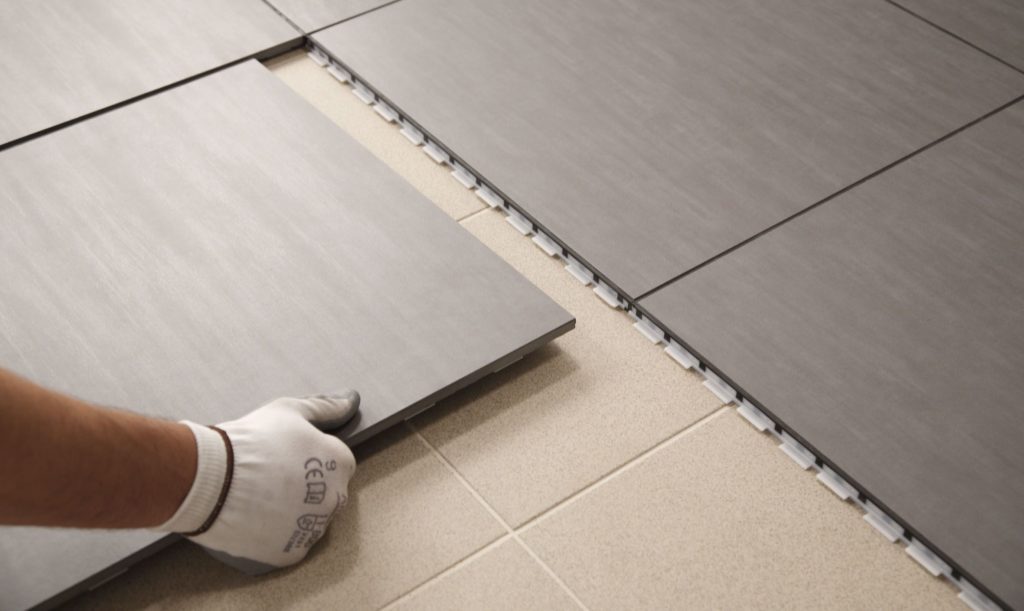
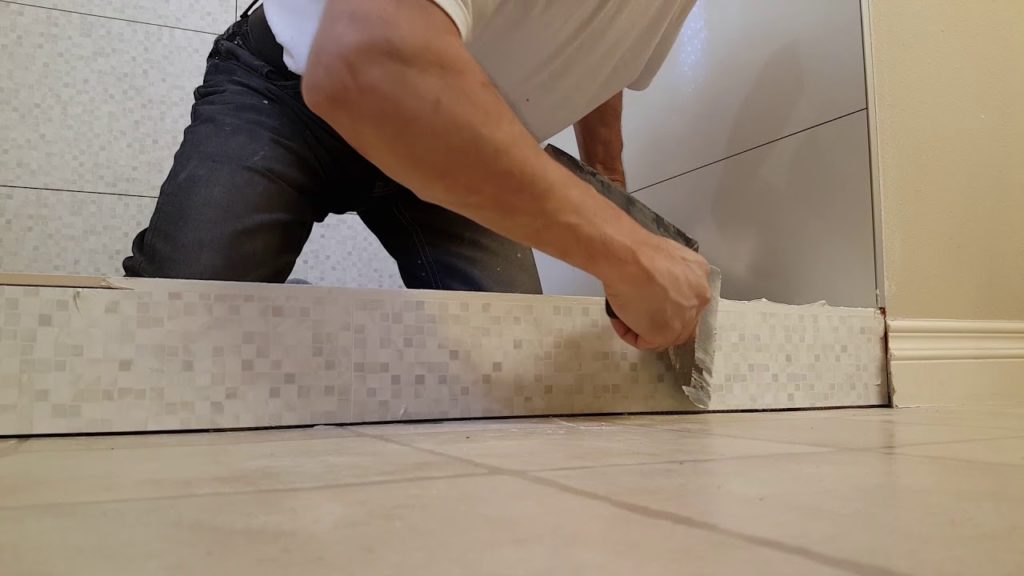
Lay tiles meticulously: Tiles that are put unevenly develop an irregular joint (or ‘lip’) which can be a journey danger– there are levelling products around to assist with this. Ensure you tile the floor before your wall– wall surface tiles ought to port nicely over your floor tiles. Where silicone is made use of, leave a 2-3mm void where floors and walls satisfy.
Peel as well as place innovations: A wonderful product to make your tiling even less complicated is BT-Instalay CTU by Gripset. This flooring system is a game-changer and can prepare a surface for tiling in just 4 simple and also quick actions. BT-Instalay CTU is additionally 10 times lighter than concrete sheets, making it a suitable flooring system for DIYers. If you are utilizing it in damp areas, it is additionally a waterproofing membrane layer.
Cement is a present: Follow the producer’s guidelines precisely. Wait at least 24 hours after laying before grouting as well as shield the tiles from any water or climate condition by covering them with old tidy sheets. Do not cement where walls satisfy floors or where 2 walls satisfy. Instead, apply silicone when the surrounding grouted area is dry. Epoxy cement is a superb choice due to its sturdiness and stain resistance. It is a breeze to best and also clean for outdoor or damp areas, making it an interesting option to seal grout.
Ceramic Tile Flooring in 9 Steps
Below are simple installation pointers on bathroom floor covering and also flooring tile that’ll keep what’s below your feet solid and long long-term.
SKIL
Moderate
Laying tile can be hard on the knees and back
COST
€4 to €8 average price per square foot
ESTIMATED TIME
6 to 10 hours to tile an 8×10-foot room
Jason has been laying tile for 30 years– numerous of them for This Tony Tiling— as well as besides this moment, he’s still enamored with the product. “I enjoy tile,” he states. “It’s lovely as well as it does not need much upkeep.”
On a flooring, these slim, fragile slices of ceramic call for some unique treatment as well as preparation. Otherwise, they won’t survive the ceremony of feet through an entrance or the unexpected spills in a bathroom or kitchen, where floors go from bone completely dry to sopping damp faster than you can state “puddle.”.
” Anytime I approach a brand-new job, I ensure the area about to be tiled is rigid sufficient so it will not flex when a person walks on it and also that it can stand up to wet-and-dry cycles,” says Ferrante. Set up the right method, using some standard devices and techniques, a tile flooring need to last for life, come heck or high water.
Steps on How to Lay Tile
1. Tiling a Floor Overview
- Pursue a layout that maximizes the number of whole tiles and also the dimension of any cut tiles.
- Put them where vanities will cover them later on or out of the major view lines from the doorway when awkwardly sized tiles can’t be prevented.
- You should not step on any kind of tiles up until the thinset has treated for at least 24 hr.
- Conserve all of the cuts calling for a wetsaw for last. Rent out the wetsaw for one day.
2. Dry layout
- Discover the middle of each wall and break chalk lines on the floor. The line crossing at the area’s center are the beginning factor of the tile.
- Lay a row of tiles along a straightedge greater than midway throughout the room. For constant joints, make use of tile spacers. This row figures out the size of cut tiles along the walls.
- At the area’s facility, put a tile where the chalk lines cross with its sides touching the lines. Measure from one wall (call it A) to the nearest tile edge. Now, go to the tile row and also, starting at a joint, measure along the row and mark the range you just determined. The mark shows the size of the tile at the wall surface. Go back to the facility tile as well as move it away from wall A to develop a wider cut tile if that dimension is much less than 2 inches.
3. Dry layout, Part II.
- From the facility tile, measure to the contrary wall (call it B; mark this distance along the tile row. Readjust the facility tile along the A-to-B line up until dimensions at walls An as well as B are the exact same.
- After readjusting the A-to-B line, mark the center tile where it touches the chalk line between the other wall surfaces (call them C as well as D). Straighten these marks with the C-to-D chalk line. Repeat the measuring as well as readjusting process for wall surfaces C as well as D.
- Lay a straightedge alongside the C-to-D line as well as against one side of the center tile. Mark the straightedge where it meets an edge of the tile. This mark is your starting factor for laying tile.
- Trim door coverings with a flush-cut saw so tile can slip underneath. Cut with saw held level versus a tile on top of an item of cardboard (to represent the density of the thinset).
4. Spread thinset mortar
- Chuck a mixer into a drill and blend the powdered thinset with latex additive– not water– up until it’s the consistency of mayo. Let it slake (rest) for about 10 minutes. Mix only as much thinset as you can make use of in 2 hours.
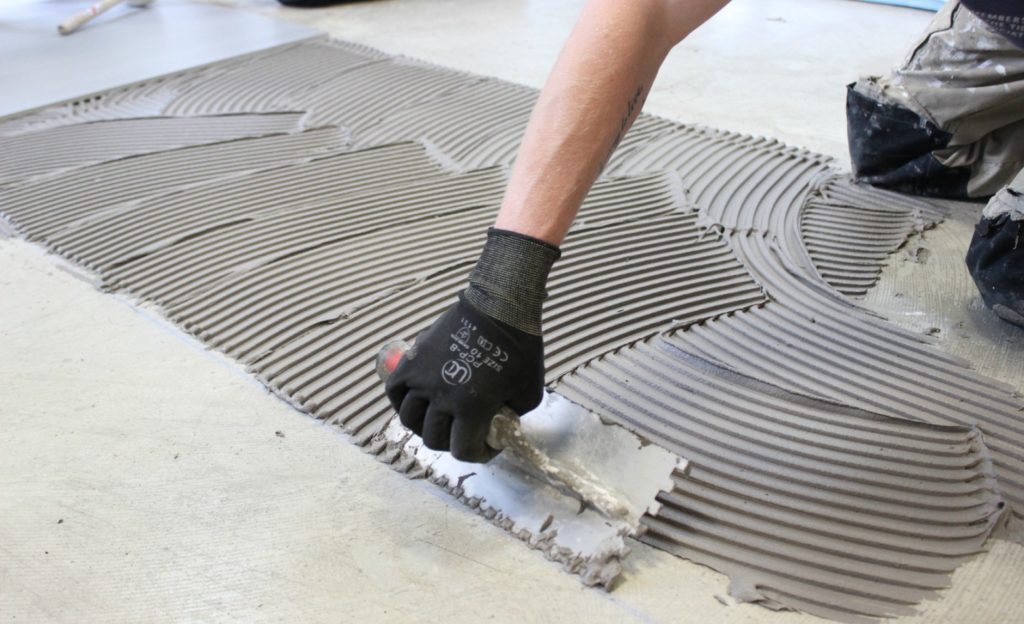
- With the flat edge of a trowel, spread a slim layer of thinset (scrape coat) over a 2-by-3-foot location alongside the straightedge.
- Before the scratch layer dries, apply more thinset using the notched edge of the trowel. Hold the trowel at a 45-degree angle to the floor and spread the thinset evenly in broad curved strokes, after that complete with a straight pass, which makes sure the most effective bond. Brushing the thinset right into furrows allows air to escape as the tile is established.
Idea: When spreading thinset, weigh down hard so that the trowel makes a scratching audio; the trowel’s notch dimension should equal the tile density.
5. Establish the tile
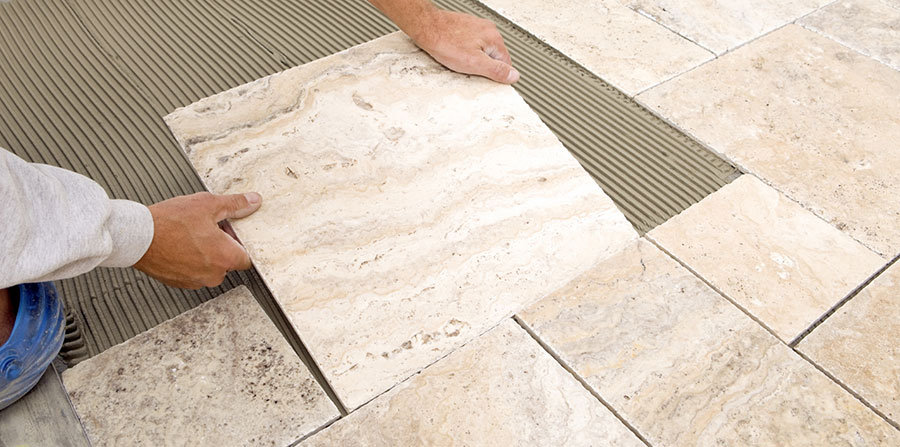
- Carefully lay a tile on thinset alongside the straightedge. With fingertips widespread, lower with a mild twist of the wrist.
- Use this exact same technique to set each tile, making one row along the straightedge. Utilizing tile spacers makes sure even joints.
- Move the straightedge out of the means and also lay the next row together with the first, using the side of the tile as your guide. Continue spreading thinset as well as establishing tiles in 2-by-3-foot sections, working from the facility of the room out toward the walls. Every few rows, hold a framing square or A-square along with the edge of the tiles to examine that they are square to each other.
Suggestion: Constant finger pressure (as well as constant practice) aids stay clear of lippage– where a tile’s edge is higher or less than its next-door neighbors.
6. Final cuts
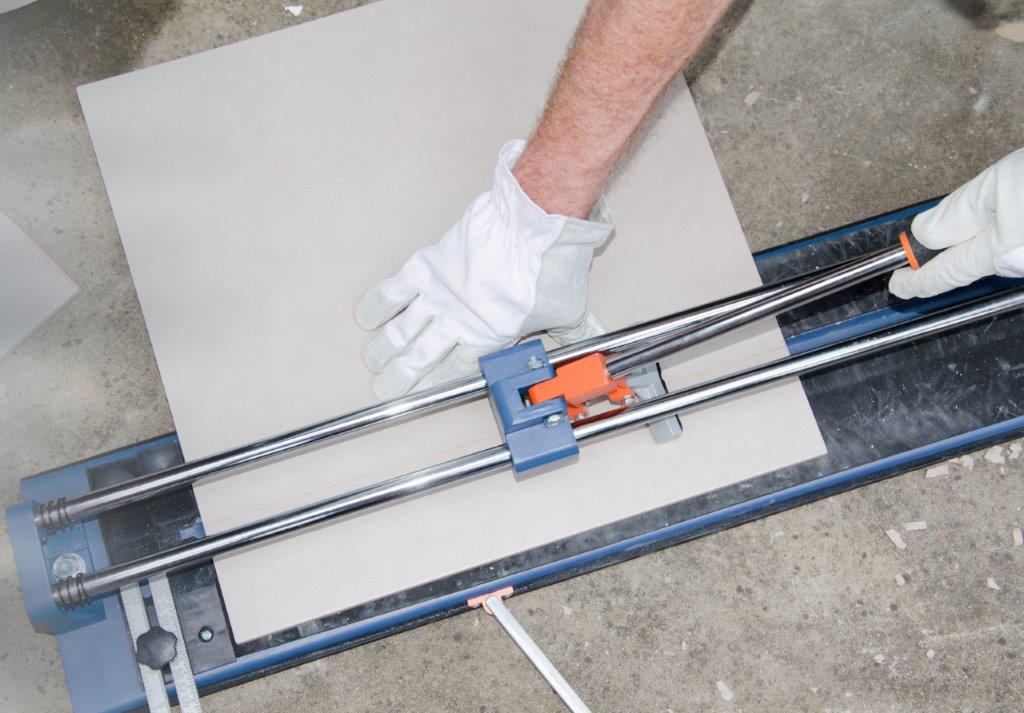
- Make straight cuts as needed with a snap cutter. When waste is greater than an inch wide, score tile with one firm stroke, then break by pressing down deal with. Smooth cut side with scrubing stone.
- For straight cuts with waste much less than an inch wide, score tile on snap cutter, then snap items off with nibblers or use a damp saw.
- To fit a tile around an outside edge, hold one side versus the wall and also mark the tile where it touches the edge. Pencil a line right throughout the tile. Without turning the tile, move it to the various other side of the corner and also again mark where tile as well as edge satisfy. Mark an X on the component to be cut away.
7. Notch the tile
- On a wet saw, reduced the tile from the mark to the line, taking care not to go beyond the line. Turn the tile and cut along the line next to the X, up to however not beyond the first cut. At end of cut, lift up the edge farthest from you to aid release the waste.
- For curved or scribed cuts, make identical pieces with the damp saw into the waste section, as much as but not past the line noting the cut. Then break away the staying “fingers” with nibblers.
8. Load the tile joints with cement
- After tile sets over night, utilize a margin trowel to scratch off any thinset from the tile surface area or in the joints.
- Mix up a set of cement to a looser-than-mayonnaise consistency. Add water a little each time by squeezing it from a sponge.
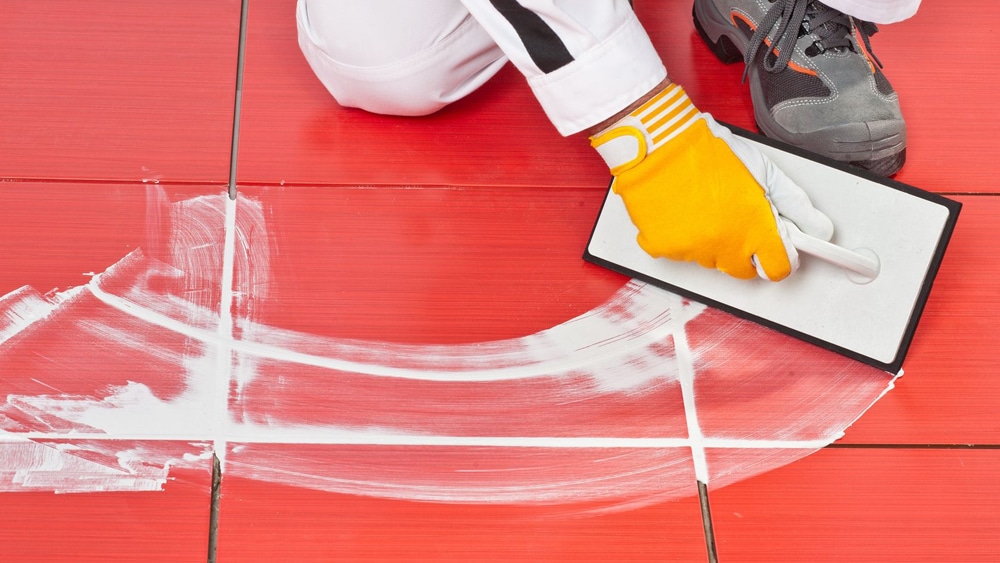
- Scoop a trowelful of cement onto the floor as well as spread it with a rubber float held at a 45-degree angle to the floor. Push cement into the joints by initial moving the float in line with the joints, after that diagonal to them. Work from the sides of the space towards the center.
9. Tidying up the grout
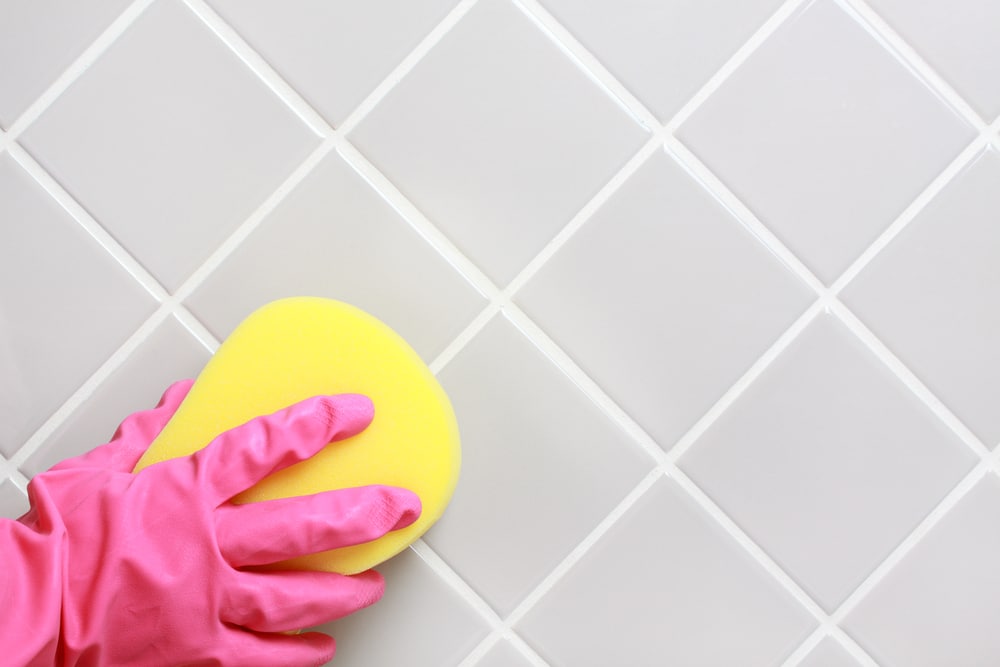
- Allow the grout to establish for 20 or 30 mins. It should be firm to the touch prior to you start washing the tile’s surface. Clean away grout haze with a moist, well-squeezed sponge washed typically in a bucket of clean water.
- Once again, await cement to haze over, then clean with tidy sponge. Repeat until the tile is clean.
Suggestion: Don’t be as well aggressive when wiping up grout haze, or you could draw cement out of the joints.